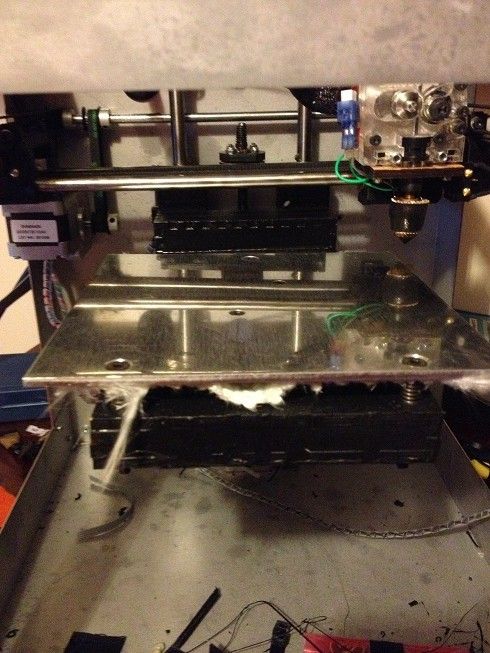
This means thatI have intermittent issues with the first layers sticking to the beds, in some areas of the bed the bed is too close to the extruder and a short fat line of filament is squashed onto the bed.
In other areas the extrusion comes out of the extruder and is almost gently placed on the bed, keeping it's round shape and not sticking very well at all!
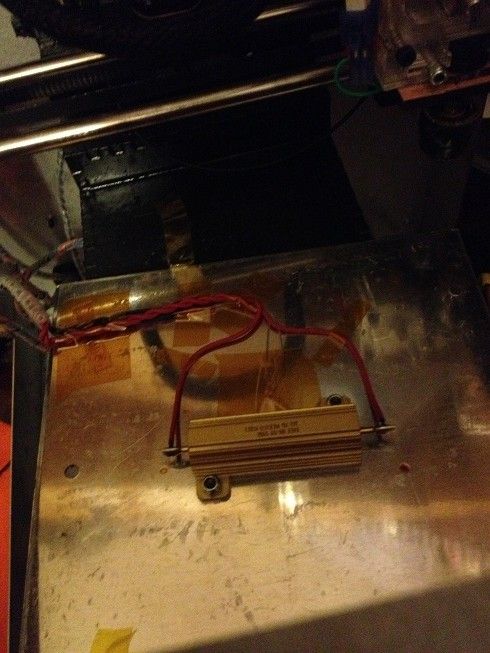
Coupled with this I'm finding that the heat distribution of a central power resistor just screwed to the bottom of the bed is meaning that the centre of the bed is very hot, (and causes the first few layers to melt and deform, whilst the outside edges are not at all hot, so the extruded plastic has trouble sticking.
Many people have started putting a sheet of glass on top of their aluminum beds and holding it with binder clips to ensure that it doesn't move.
I've decided that I'm going to replace the warped bed completely, and try to get more even heating by using some nichrome wire to heat the bed all over.
You can get heat proof glass from a glass merchant, sounds silly, but look for one that specialises in glass for home made wood burning stoves.
As a guide to price, I got a piece 7" x 7" 1/4" thick £13 (GBP) that was the price to get this measures and cut
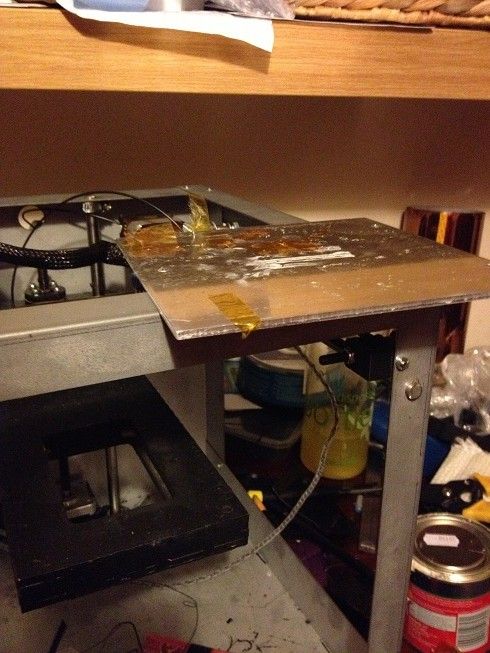
The rest of this post is my new glass bed.
To start remove the glass that you've either clipped or taped to the aluminium bed, (for those wanting to avoid the hot end bumping into binder clips, use 1/4" kapton to stick down the glass:

remove the kapton, (you need to get to the screws:
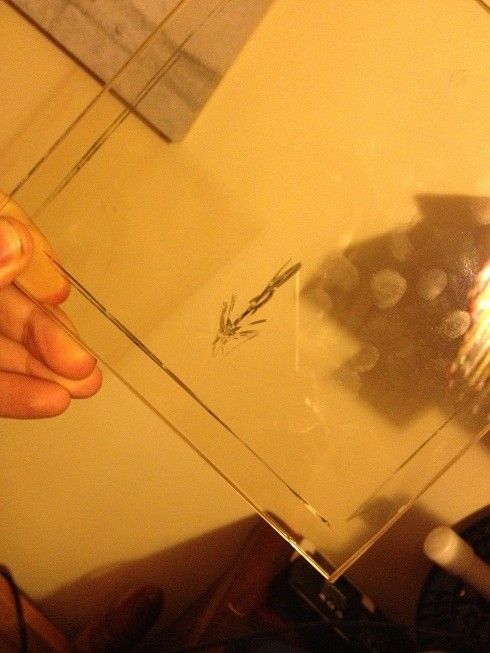
Using a "china marker" go ask someone working on a deli counter to get you one, mark the edges of where the glass can comfortably sit:
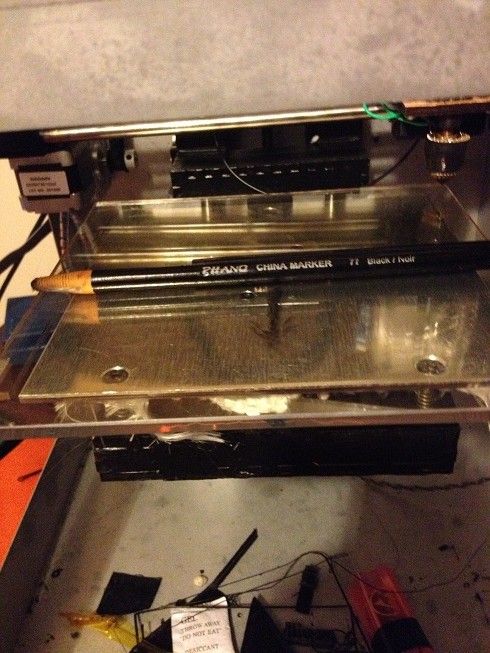
You won't need to do this if you're using a 6x6 piece of glass, but of you want to use all the extents of travel of the hotend, then you'll need to make sure that the steppers are cleared
next unscrew the aluminium. remove the heat shield/insulation from the back.
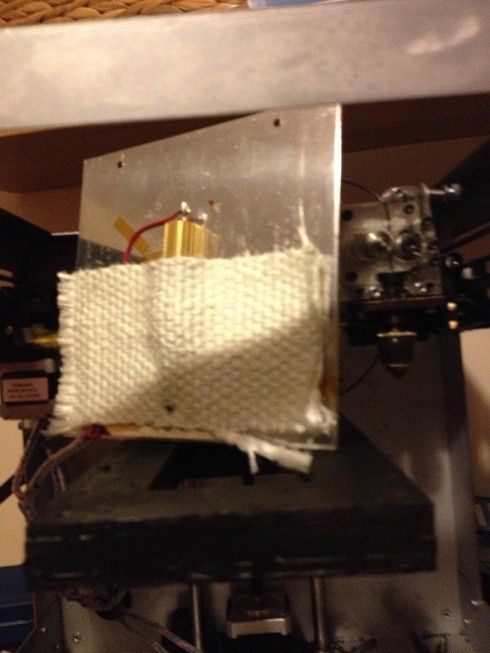
now remove the resistor and thermistor:
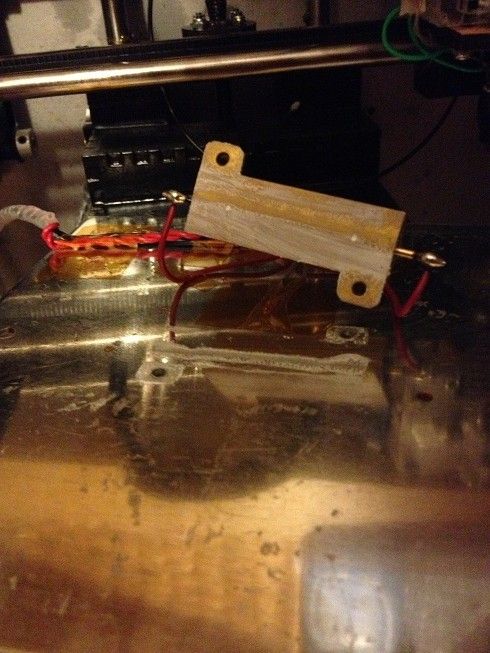
now the bed is completely removed
Next using the marks on the glass put the bed under the glass and mark the screw holes.
using a glass bit drill the glass, (either 4mm or 5mm) and countersink the holes.
now take three 9ohm lengths of nichrome wire, and a 1/4" roll of kapton, loop the wire over the underside of the bed using the 1/4" kapton to hold it to the glass

Join the ends together to make a 3ohm resistor evenly spread over the whole bed,
tape the thermistor to the bed in a spot where it's an even distance from any length of nichrome.
join the red wires where the resistor was attached to the ends of the nichrome
and replace the heat shield
Level the bed...
next, because glass isnt all that sticky, you'll need kapton
a nice big roll will do!
lay the kapton over the bed, stick one side first, use a plastic squeegee (you can print this!) to push the kapton onto the bed without airbubbles.
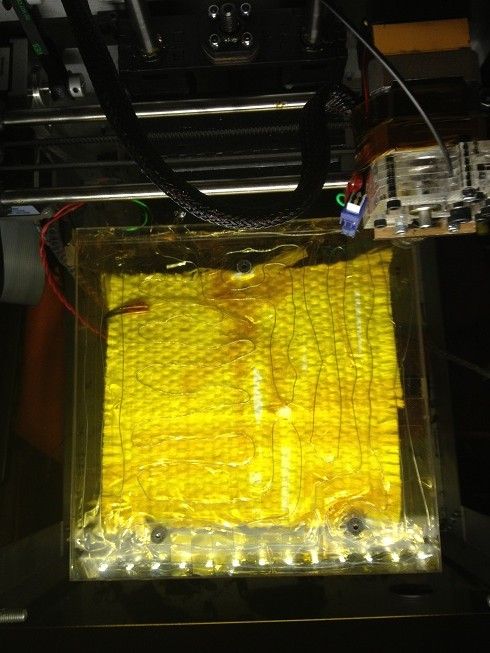
Done
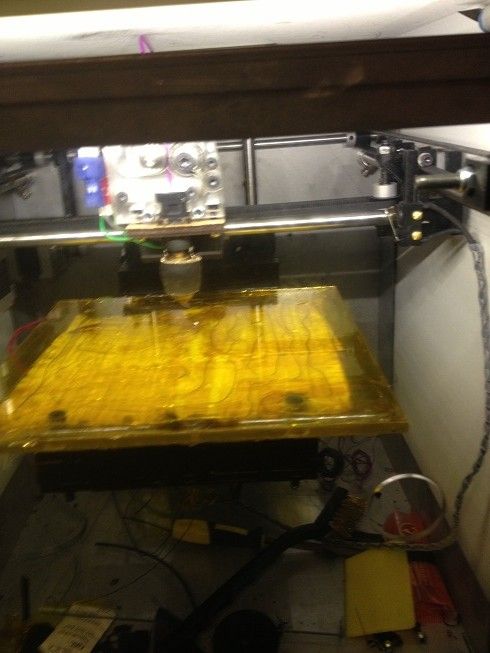
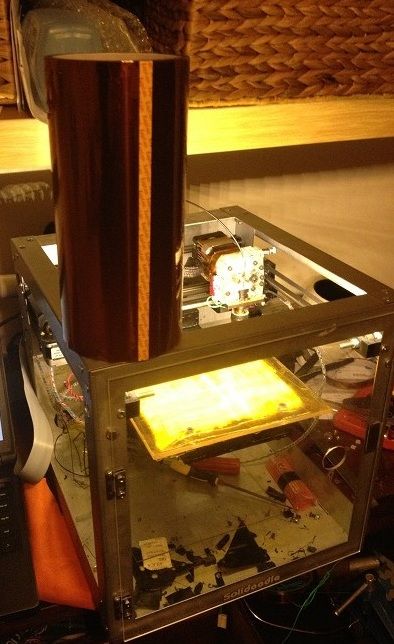
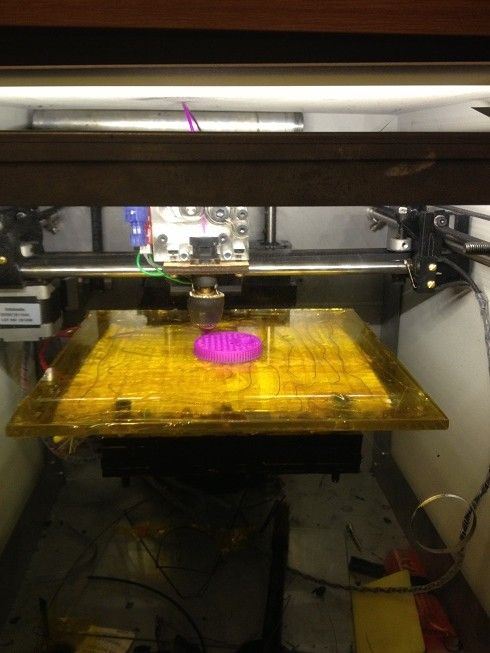
Printing on an all glass bed.
As a bit of a bonus, the bed takes the same time to heat up, but rather than getting a middle of spot of around 90 degrees with cooler edges, (so the middle of a print squidges and the edges lift, I can print with a bed temperature of around 70Degrees (and have confirmed the machine readings with a thermocouple probe)
I've also increased the area that I can print on by almost a full inch in the x and y planes.
4 comments:
Hey how's this mod going after nearly 2 years? I'm thinking of doping the same thing.
doing*
It's still going strong.
the bed heats very evenly, and given the thickness of the glass hasn't shown any cracks or splinters and retains heat very well.
I'm considering re-making the mod with more heater wires to give a more powerful heater to decrease the time taken to heat the bed, (currently about 15-20 minutes from cold)
If you have a solidoodle 2 with the original aluminium bed you'll know that it takes a long time to heat up normally, using the same power heater with what ends up as a larger bed takes even longer. (of course this means an upgrade to the power supply, and possible external relay switching of the 12 power supply so as not to burn out the FET on the printers mainboard.
what gauge of Nichrome wire did you use? i was thinking of using 14x pieces of 7.5" long 36 gauge kanthal wire soldered to copper tubes so that i can have a 146 watt heatbed.
Post a Comment